Build a Facebook Messenger chatbot in Laravel with BotMan Studio 2.0
#chatbotsWith BotMan it is easy to set up a Facebook chatbot. This week the new 2.0 version was released. We will check out how to set up a Facebook Messenger chatbot in this new version with BotMan Studio step by step.
Preparations
Before we start, make sure to have these things prepared:
- PHP7+ environment
- ngrok or Laravel Valet to get a public URL to your BotMan app
- A Facebook Page where your chatbot will live
- A Facebook App which we will configure together
I also wanted you to know that I wrote a book about chatbots, PHP and BotMan. So if you're interested in more chatbot stuff, please check it out here.
Install BotMan Studio
The easiest way to install BotMan Studio is via the installer.
composer global require "botman/installer"
After that you can just install a new instance like that:
botman new botman-facebook
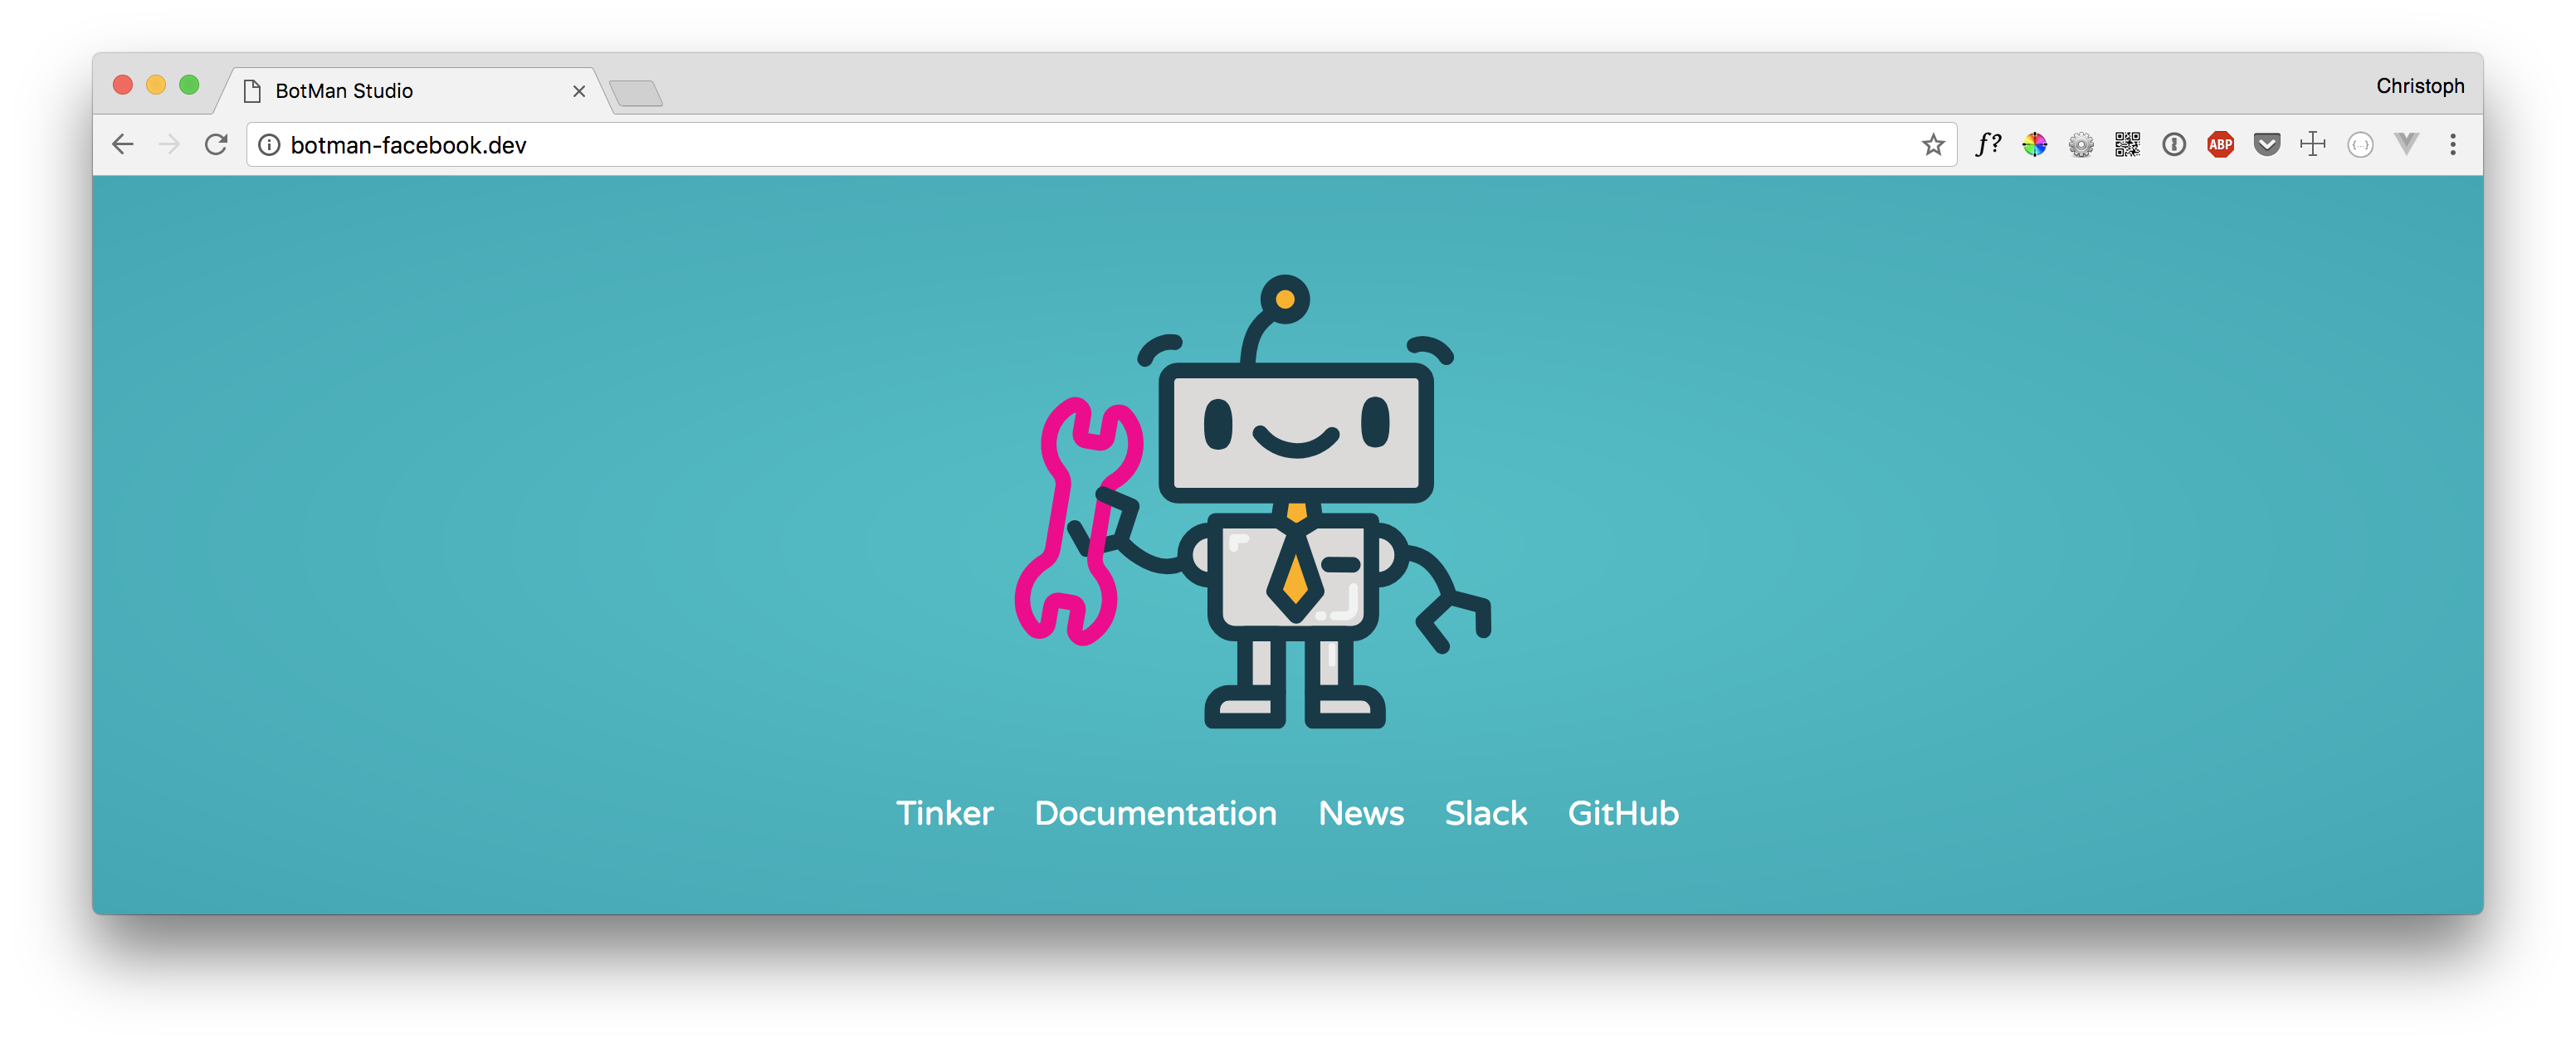
It is basically like the Laravel Installer. Your application is now already installed. When you use Laravel Valet you can directly check the homepage, botman-facebook.dev in my case. Here you will see the BotMan Studio welcome page.
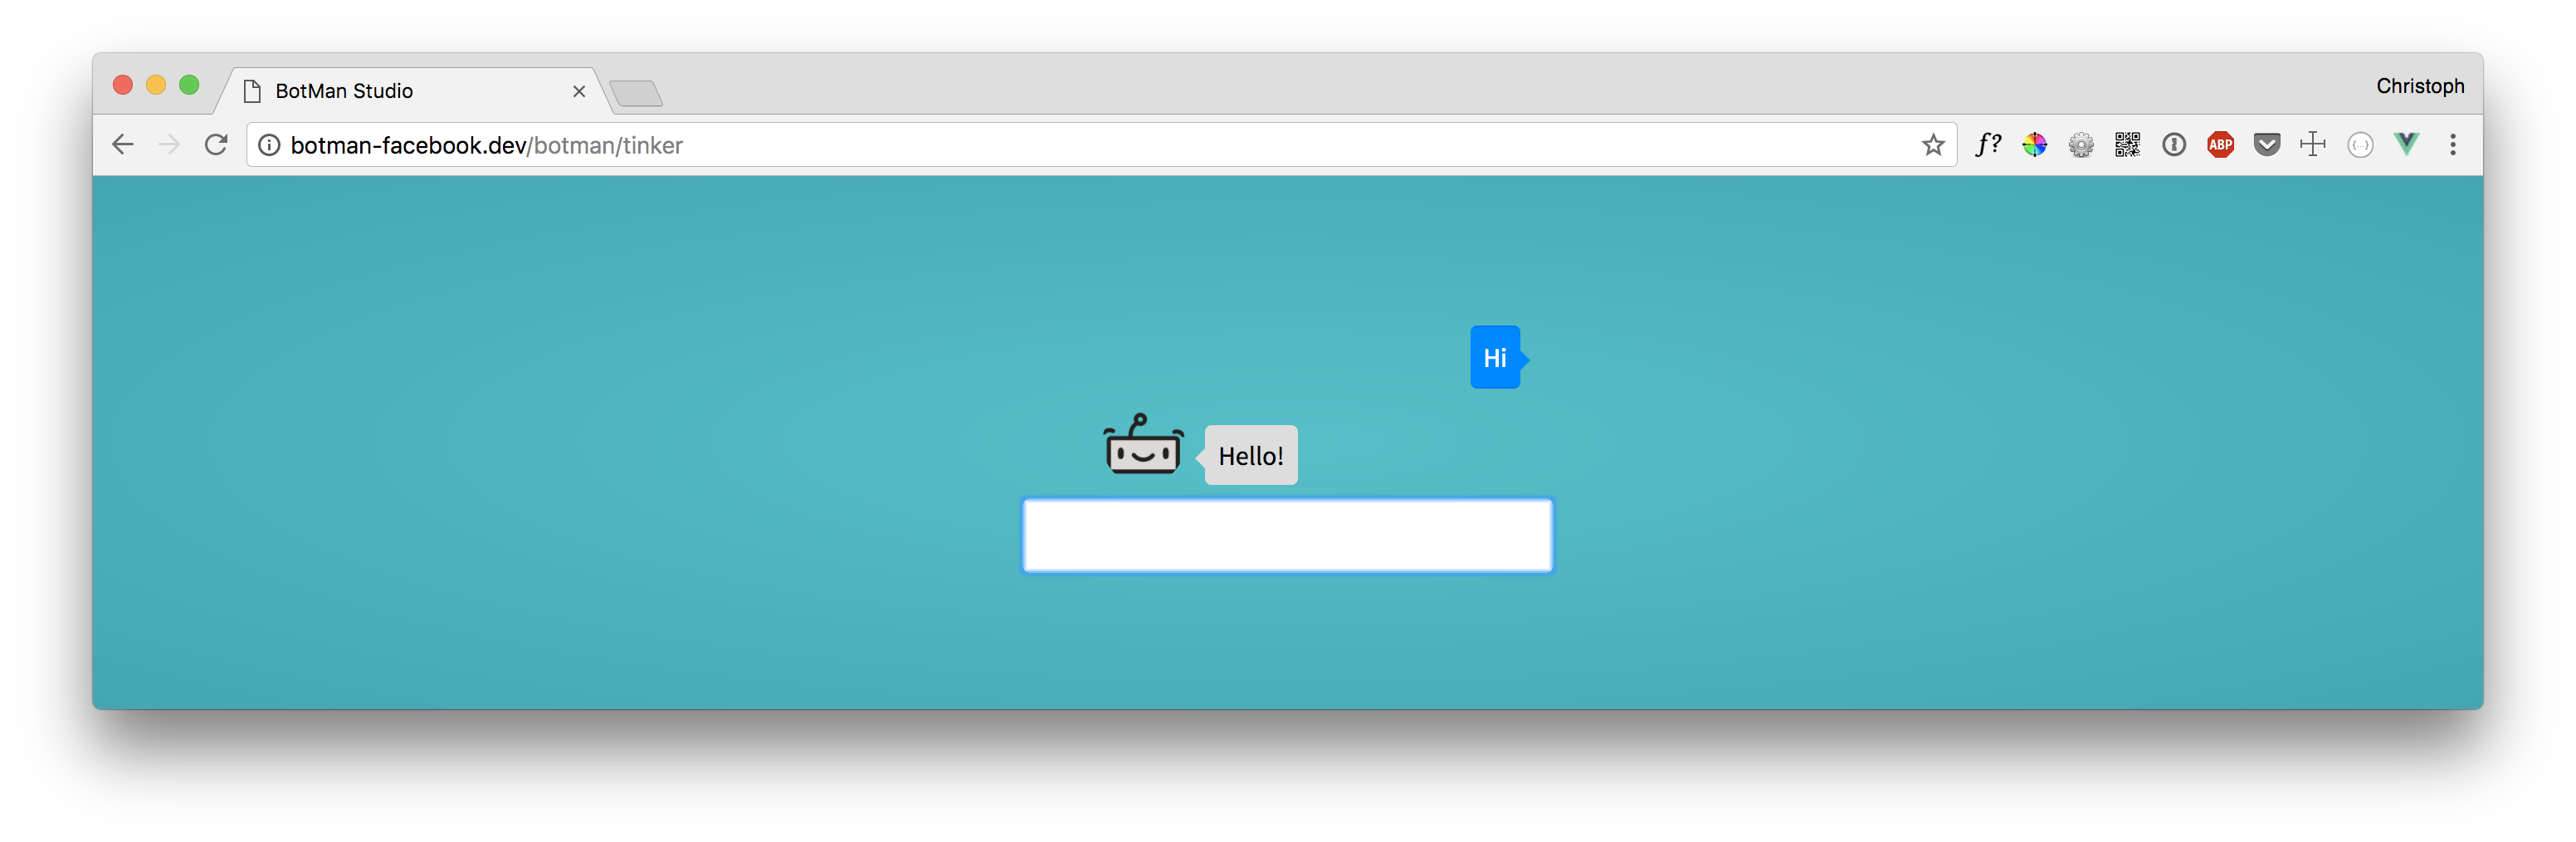
When you click Tinker you can immediately test your chatbot. Type Hi and you should get a reply. This works because this behavior comes with BotMan Studio. You will find the code for that in your routes/botman.php file.
$botman->hears('Hi', function ($bot) {
    $bot->reply('Hello!');
});
Configure BotMan Studio
Now that BotMan is installed we need to configure it to work with Facebook Messenger. When you use the BotMan artisan command php artisan botman:list-drivers you will see the installed driver.
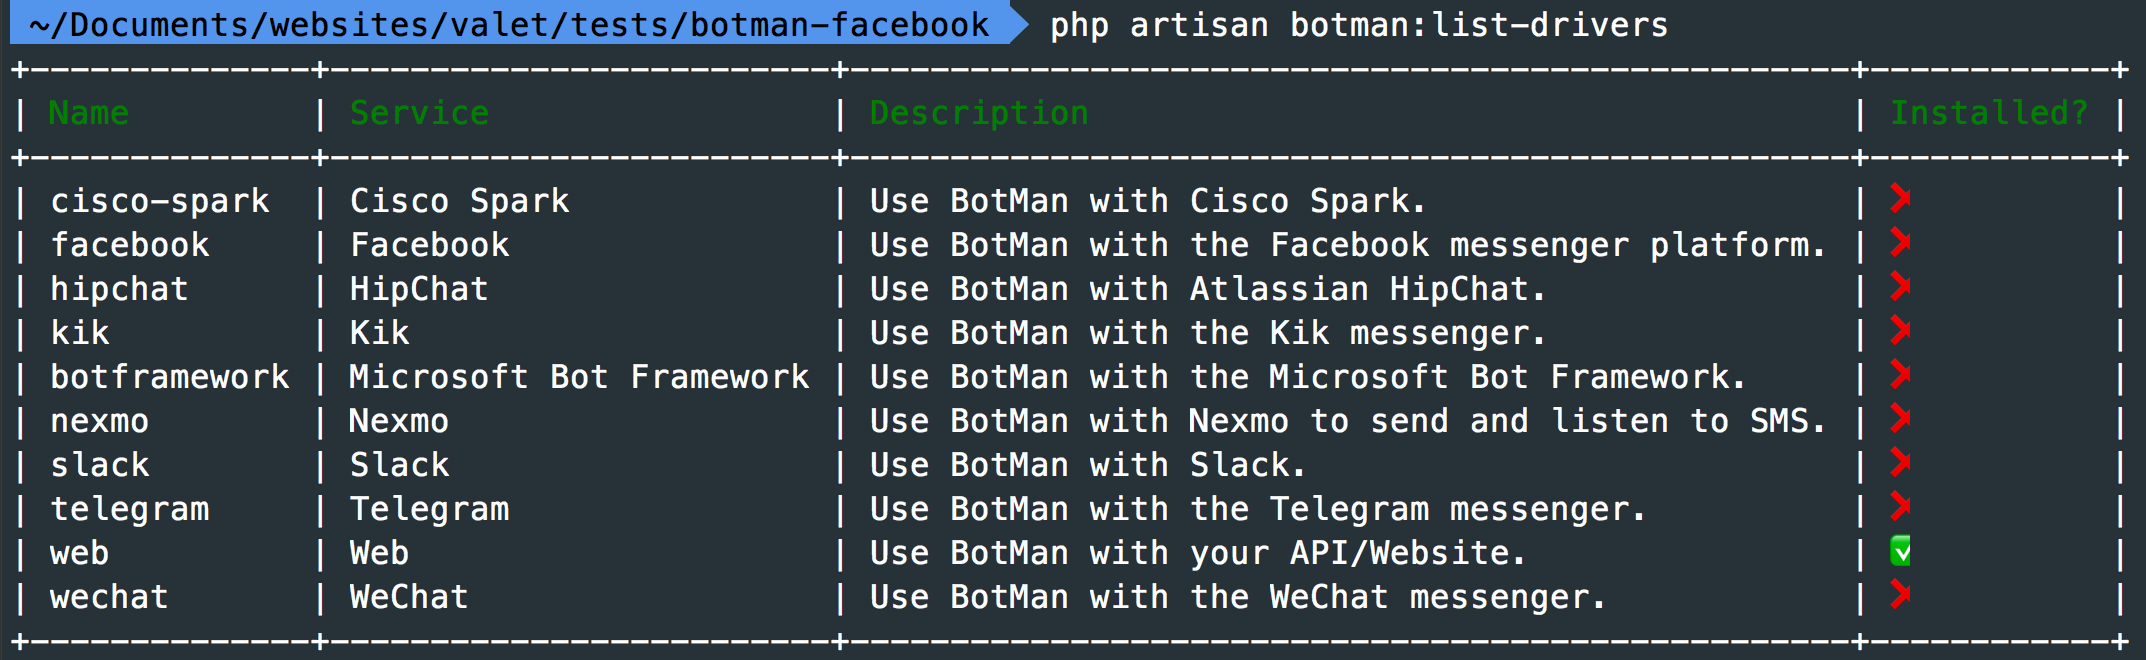
As you can see, by default only the web driver is installed. Since version 2.0 almost all drivers live in separate GitHub repositories, and you need to install the ones you need. To install the Facebook driver, we can use another artisan command.
php artisan botman:install-driver facebook
Next, to the driver, this will also add a config/botman/facebook.php config file. There you'll see that BotMan requires some data from your .env file.
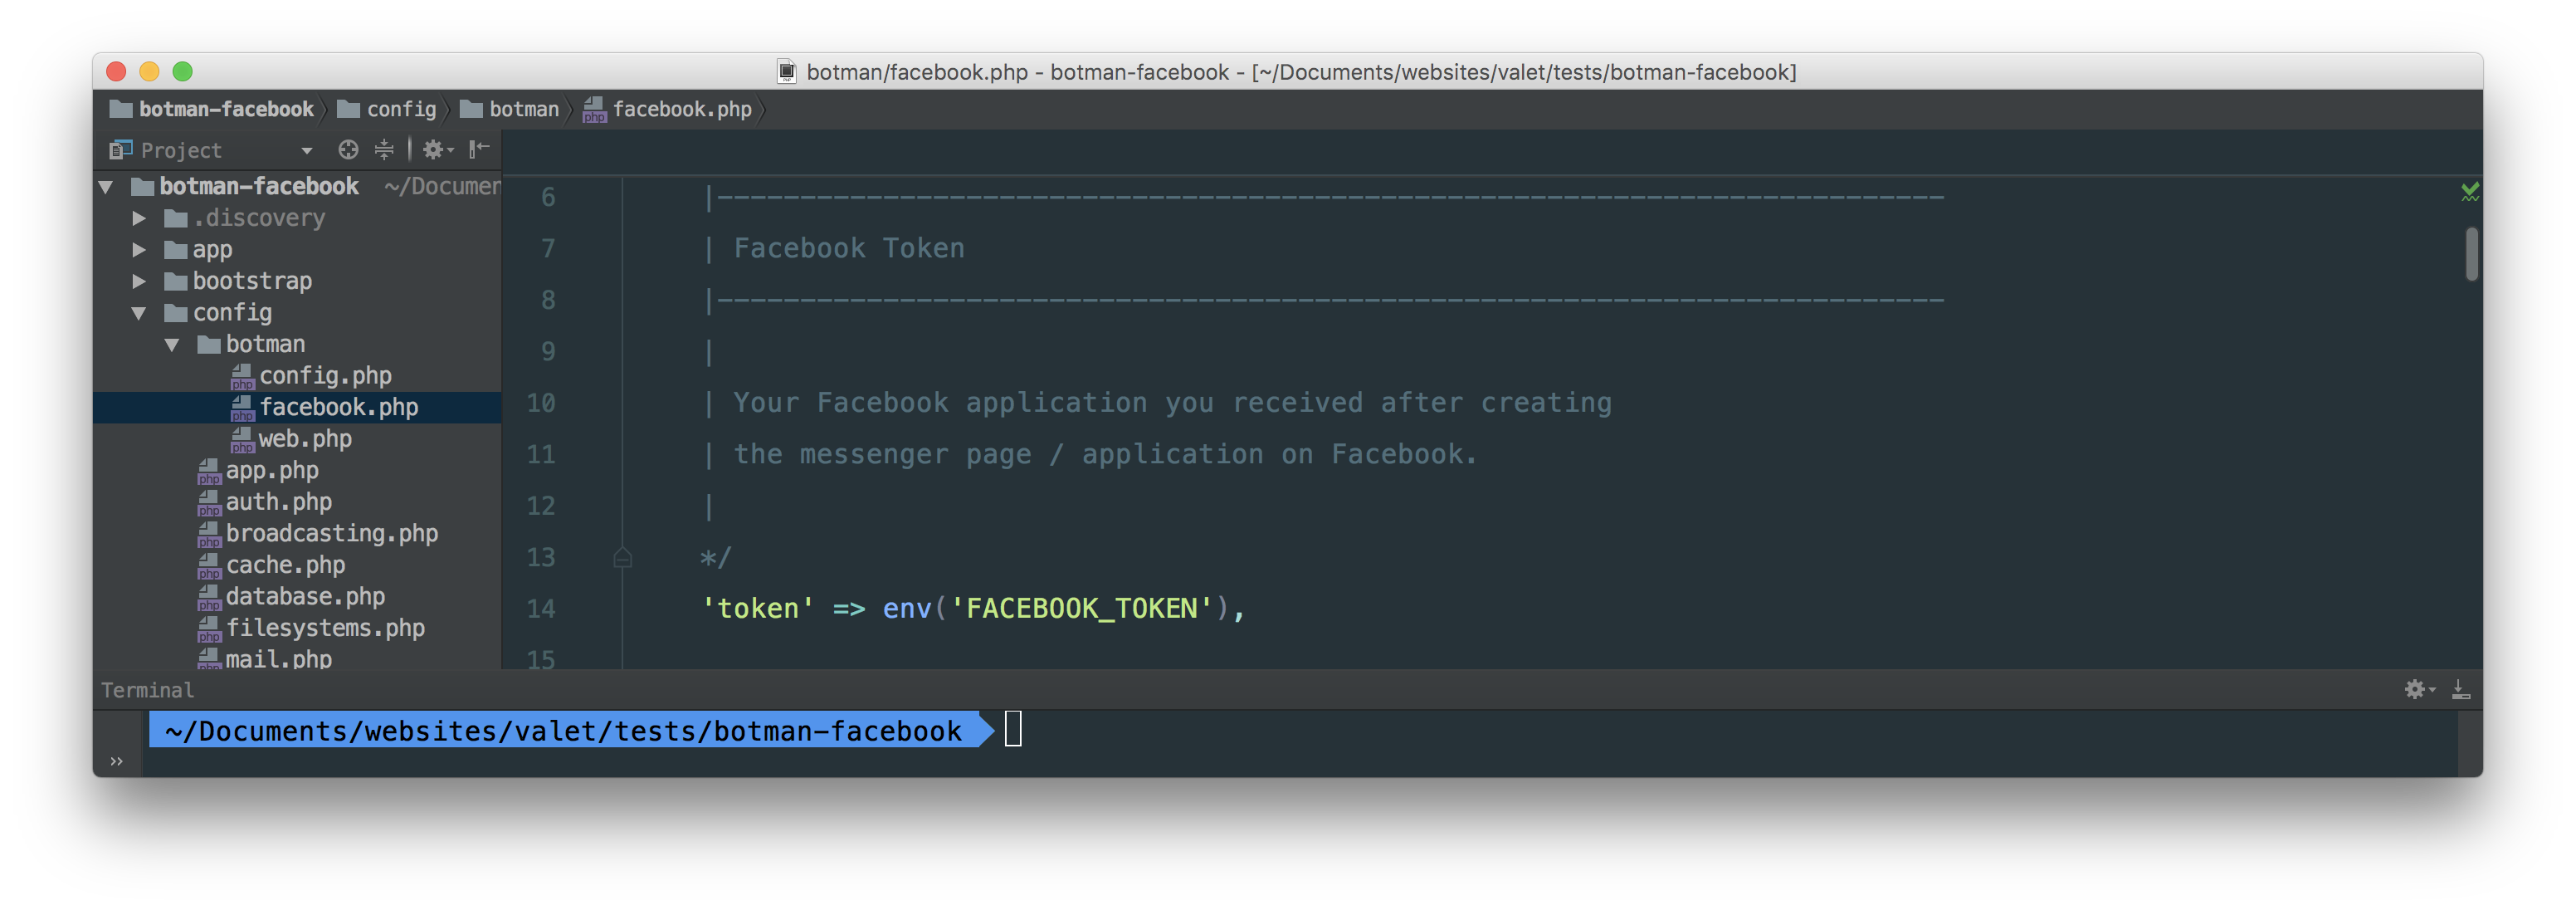
To connect our BotMan application to a Facebook app and page, we need these env values: (we will add them later)
FACEBOOK_TOKEN=YOUR_APP_FACEBOOK_PAGE_TOKEN
FACEBOOK_APP_SECRET=YOUR_APP_SECRET
FACEBOOK_VERIFICATION=YOUR_VERIFICATION
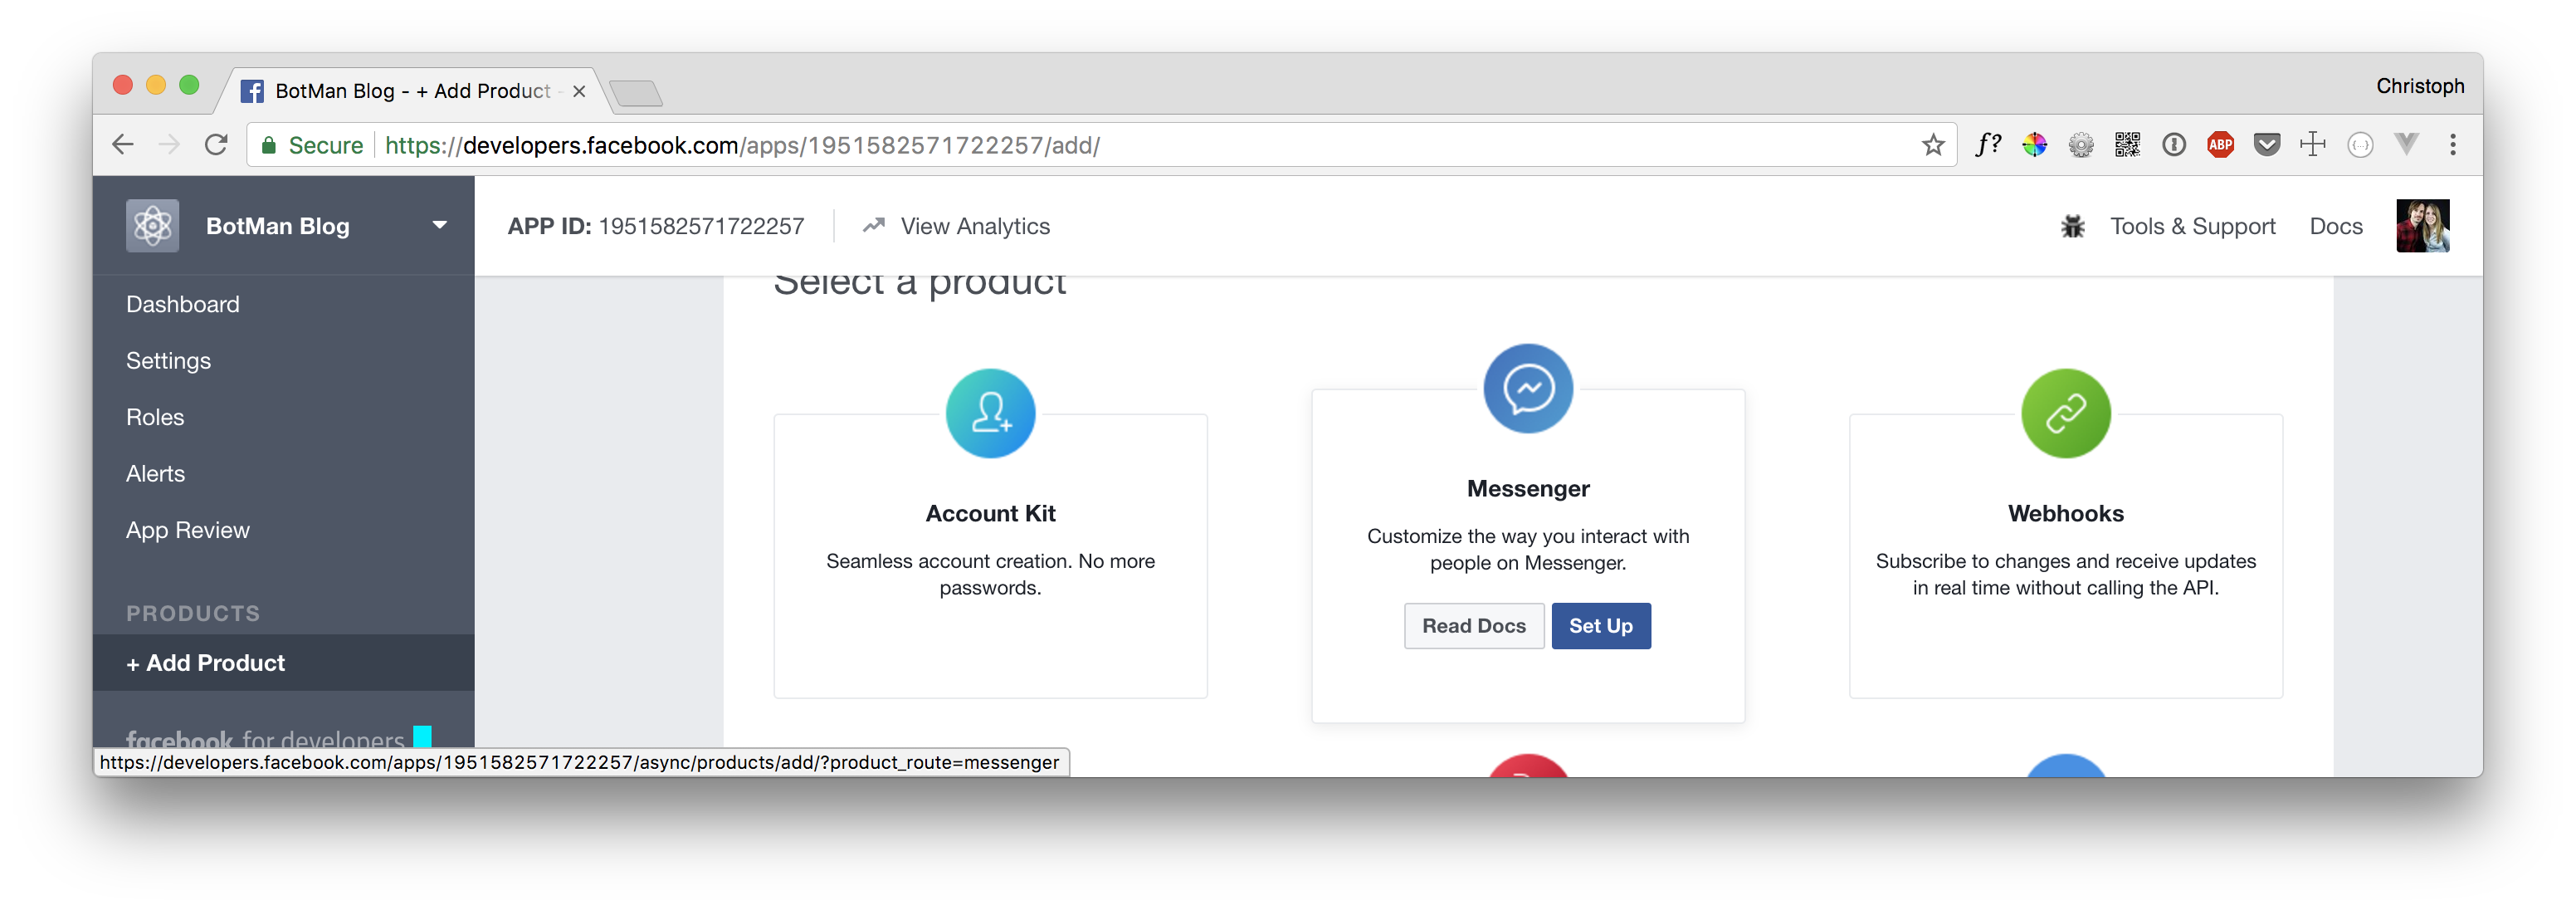
Setup the Facebook app
On your Facebook Developer site go to your app and add the Messenger product to it.
Now you're able to create a Facebook Page Token. (= FACEBOOK_TOKEN from BotMan) Just select the Facebook page, where your bot will be available, and copy the token. On your apps dashboard, you will also find the Facebook App Secret. Copy it as well and put the values in your .env file. You can choose the value of FACEBOOK_VERIFICATION yourself there. We will need that in short. Now all your .env Facebook values should be filled.
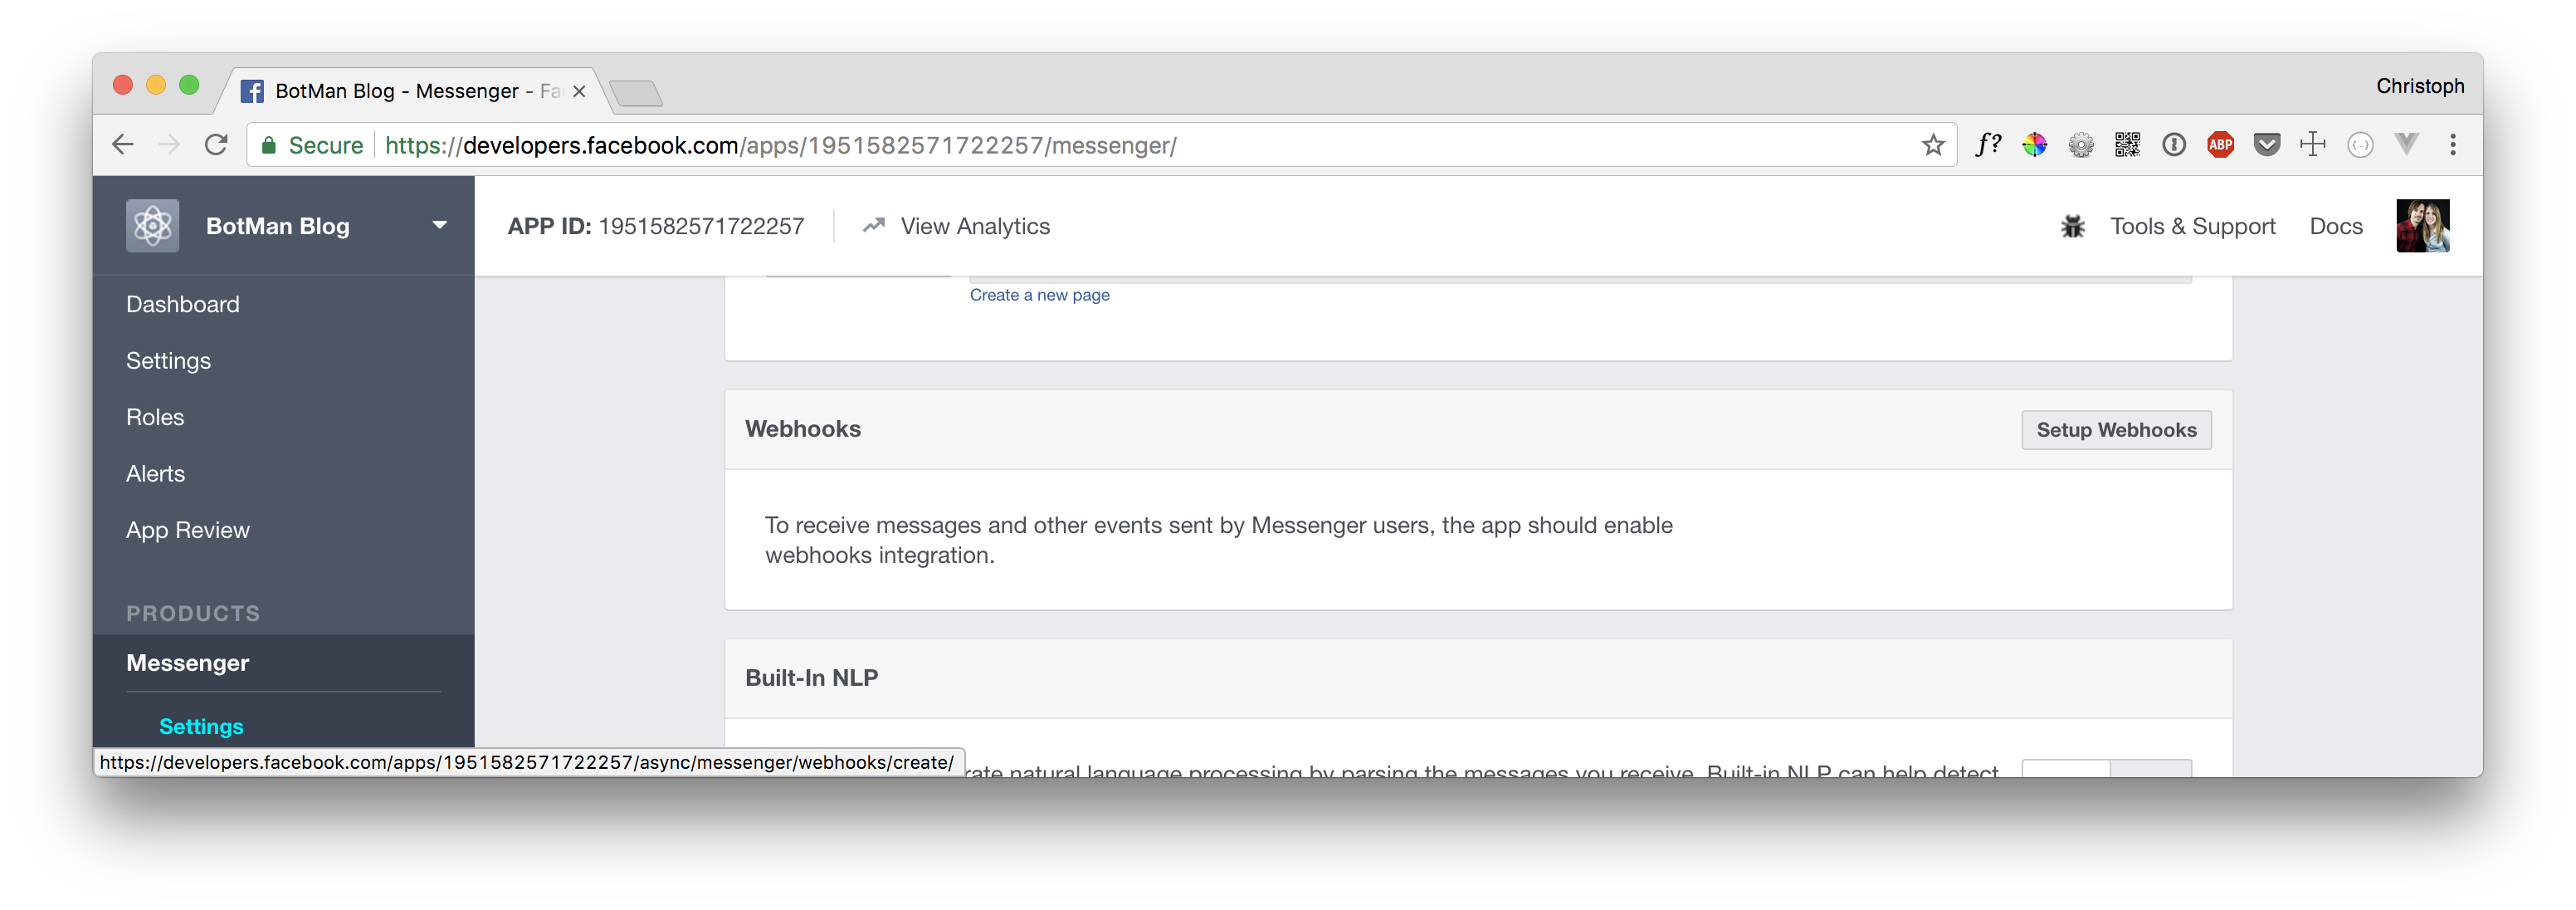
Connect BotMan to your Facebook app
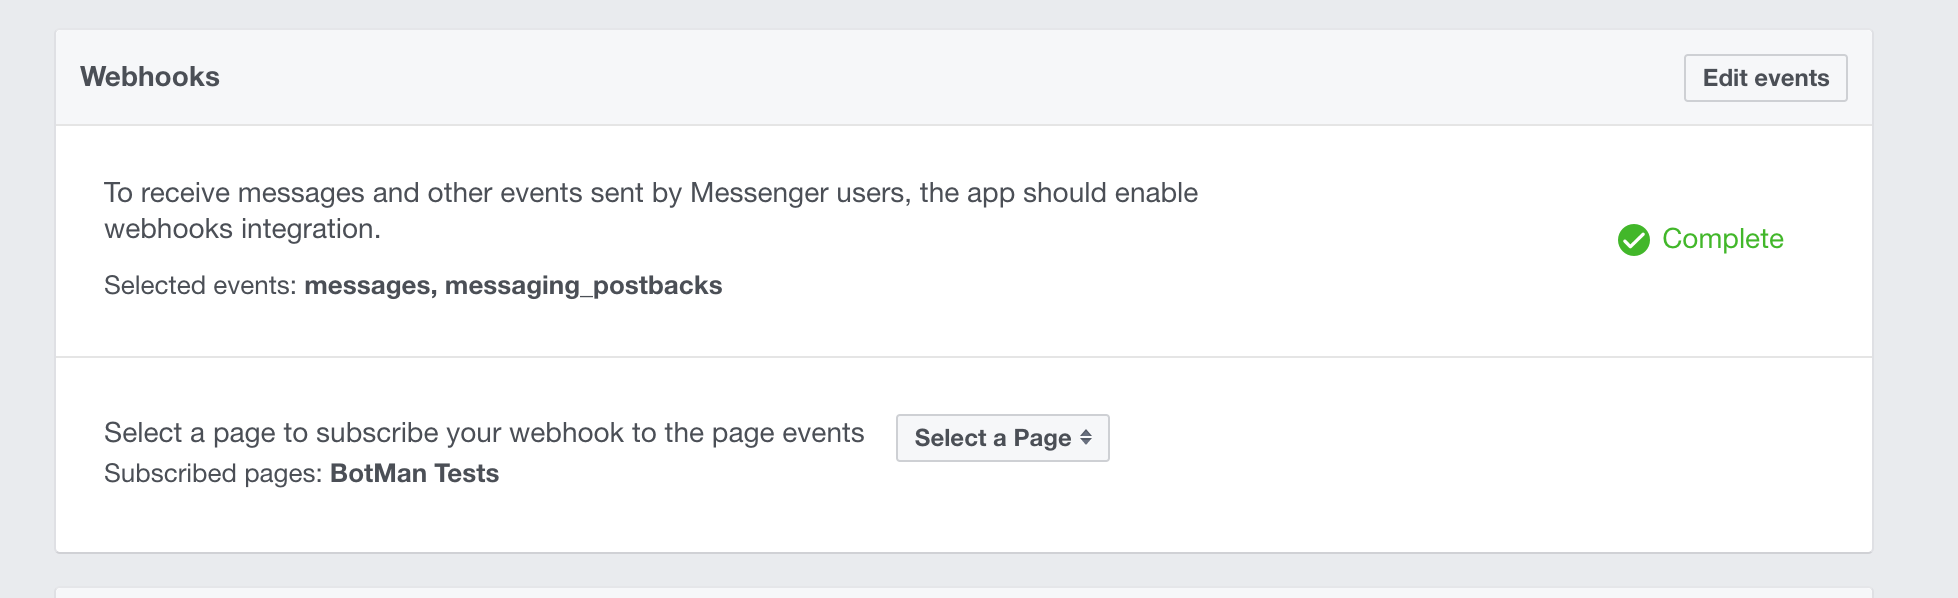
To connect them, we need to setup the webhook inside your Facebook app. You will find the options in the app's Messenger section like before.
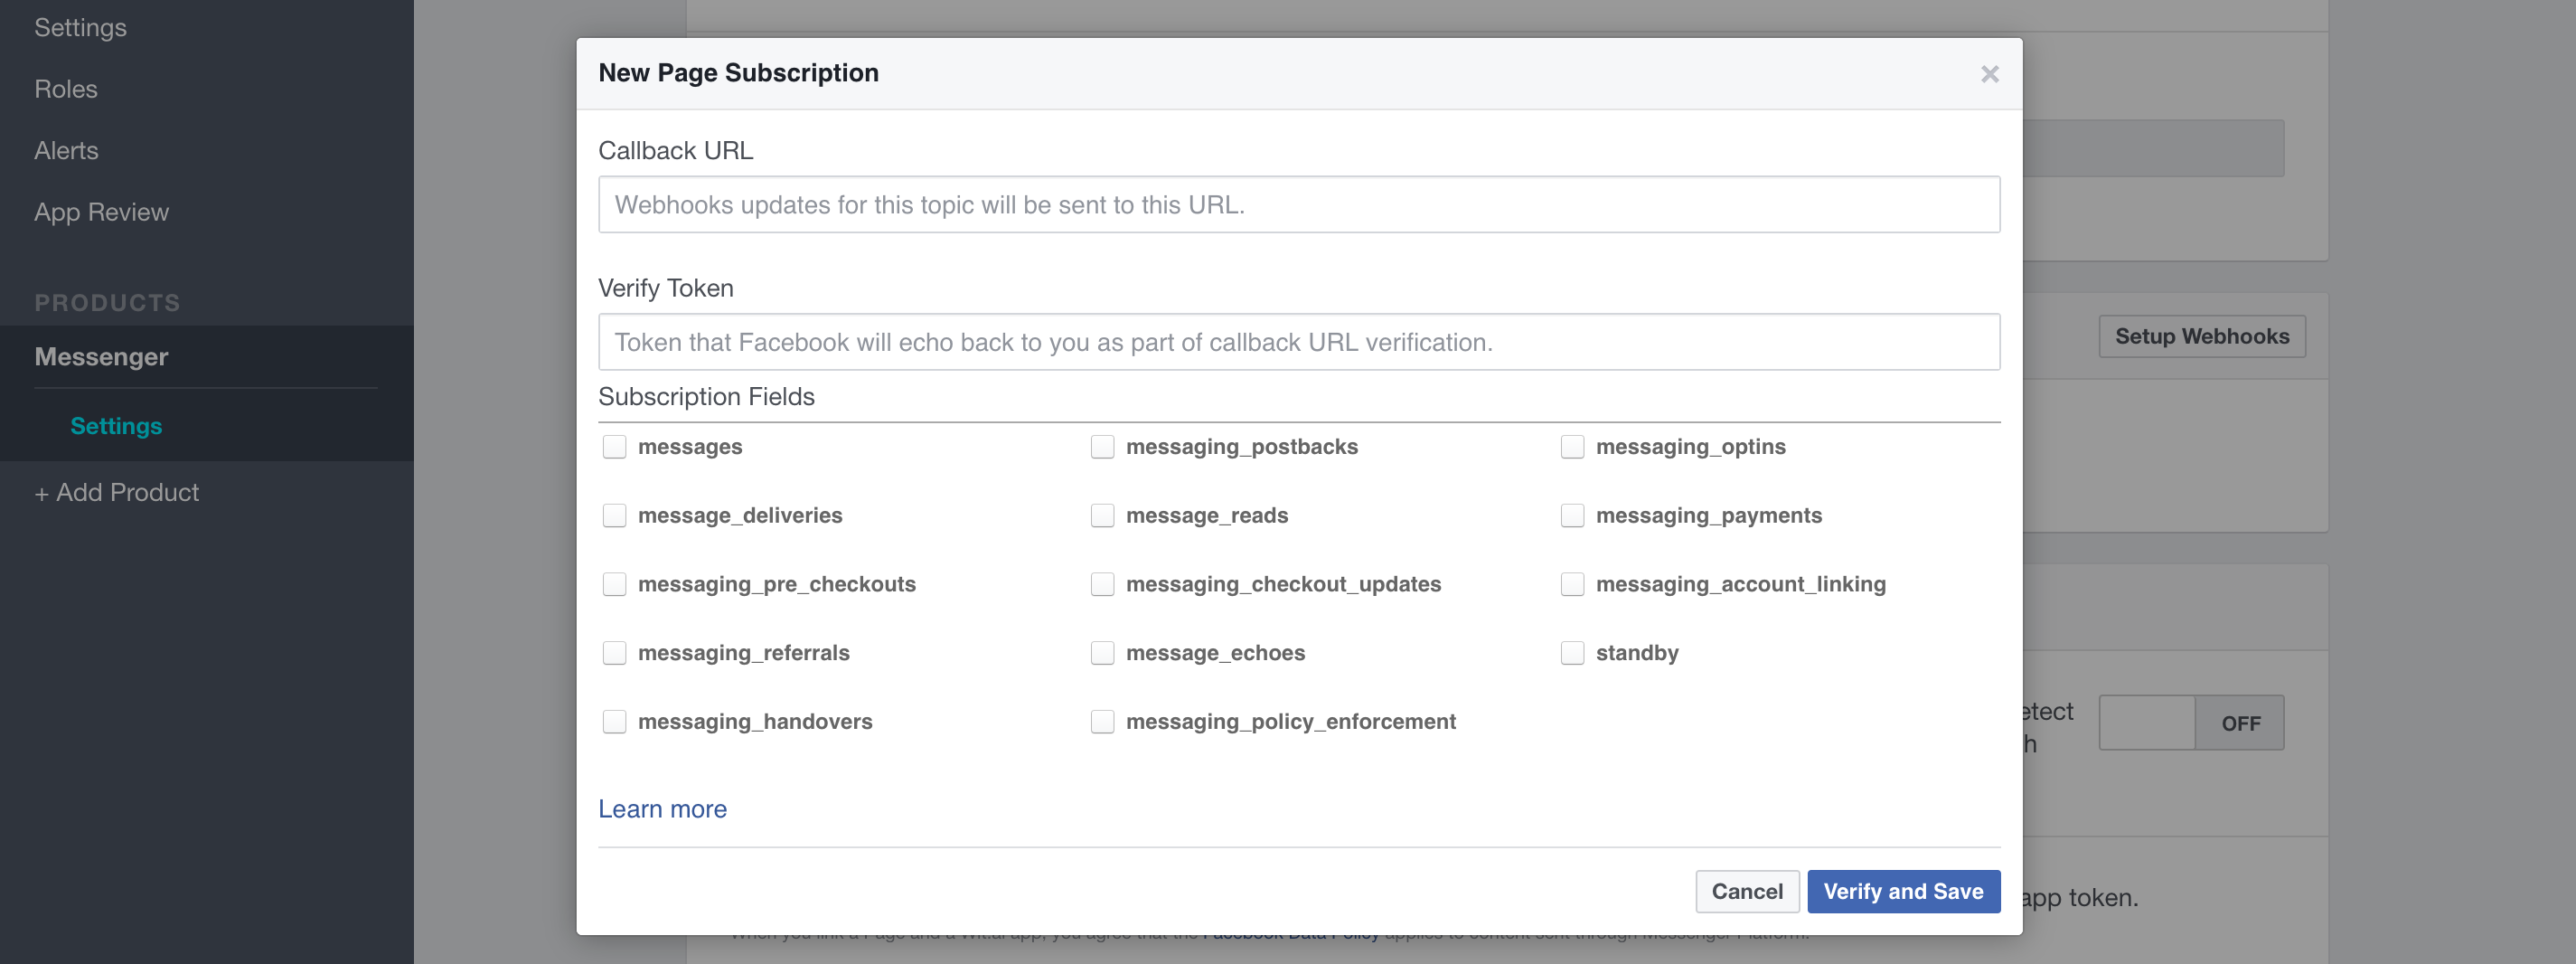
There we need to select the subscription fields, so the app knows what to send to our BotMan application and the URL where to send it to. The callback URL (= webhook) is your BotMan application public URL + /botman and the Verify Token is the one you used in your .env file. For us, the messages and messages_postbacks fields are fine for now. When you did everything correctly, your webhook should now be successfully set up.
The botman endpoint of your BotMan application is already set up in BotMan Studio. This is why that works out of the box. You will find the code for that in you routes/web.php file.
Route::match(['get', 'post'], '/botman', 'BotManController@handle');
After you have setup the webhook, you will be able to subscribe the app to a Facebook page. This makes sure that every message from the page will be sent through your app to your BotMan application.
Test it out
Next, we can test if everything is working as planned. So visit your Facebook page and send a message with just Hi. You should again get a reply with Hello!.
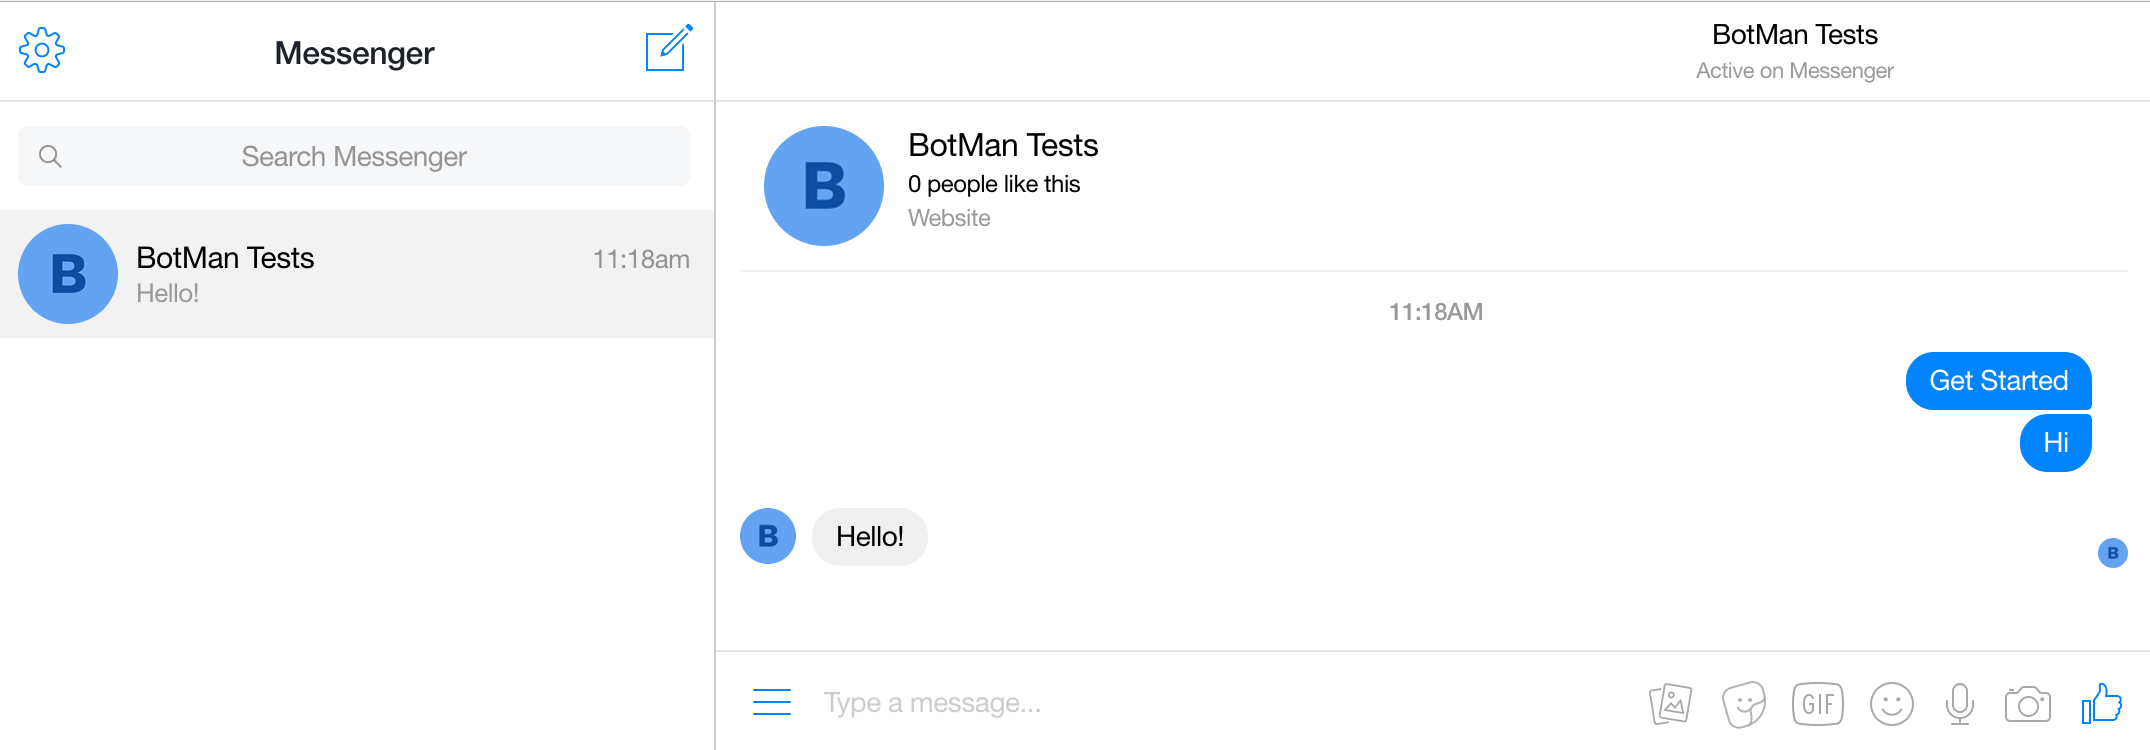
You can also write to your page through the Messenger web app. It is what I am using in the screenshot. Just search for your page there to write a message.
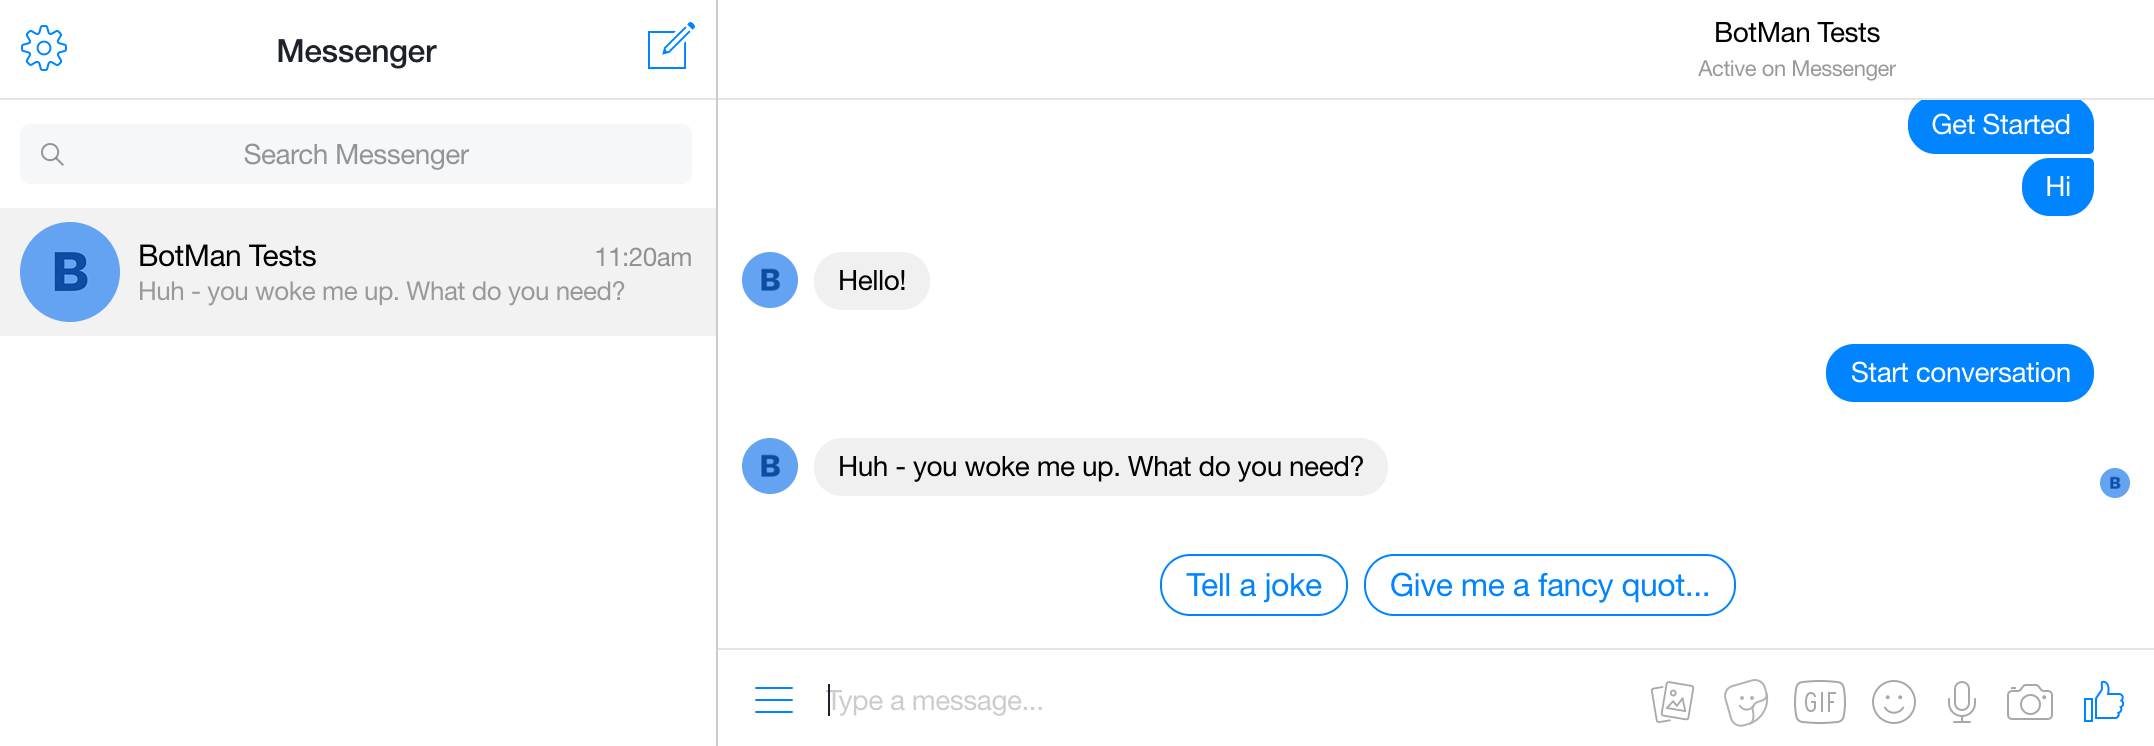
Additionally, we can test the example conversation, which is built into BotMan Studio.
First custom message
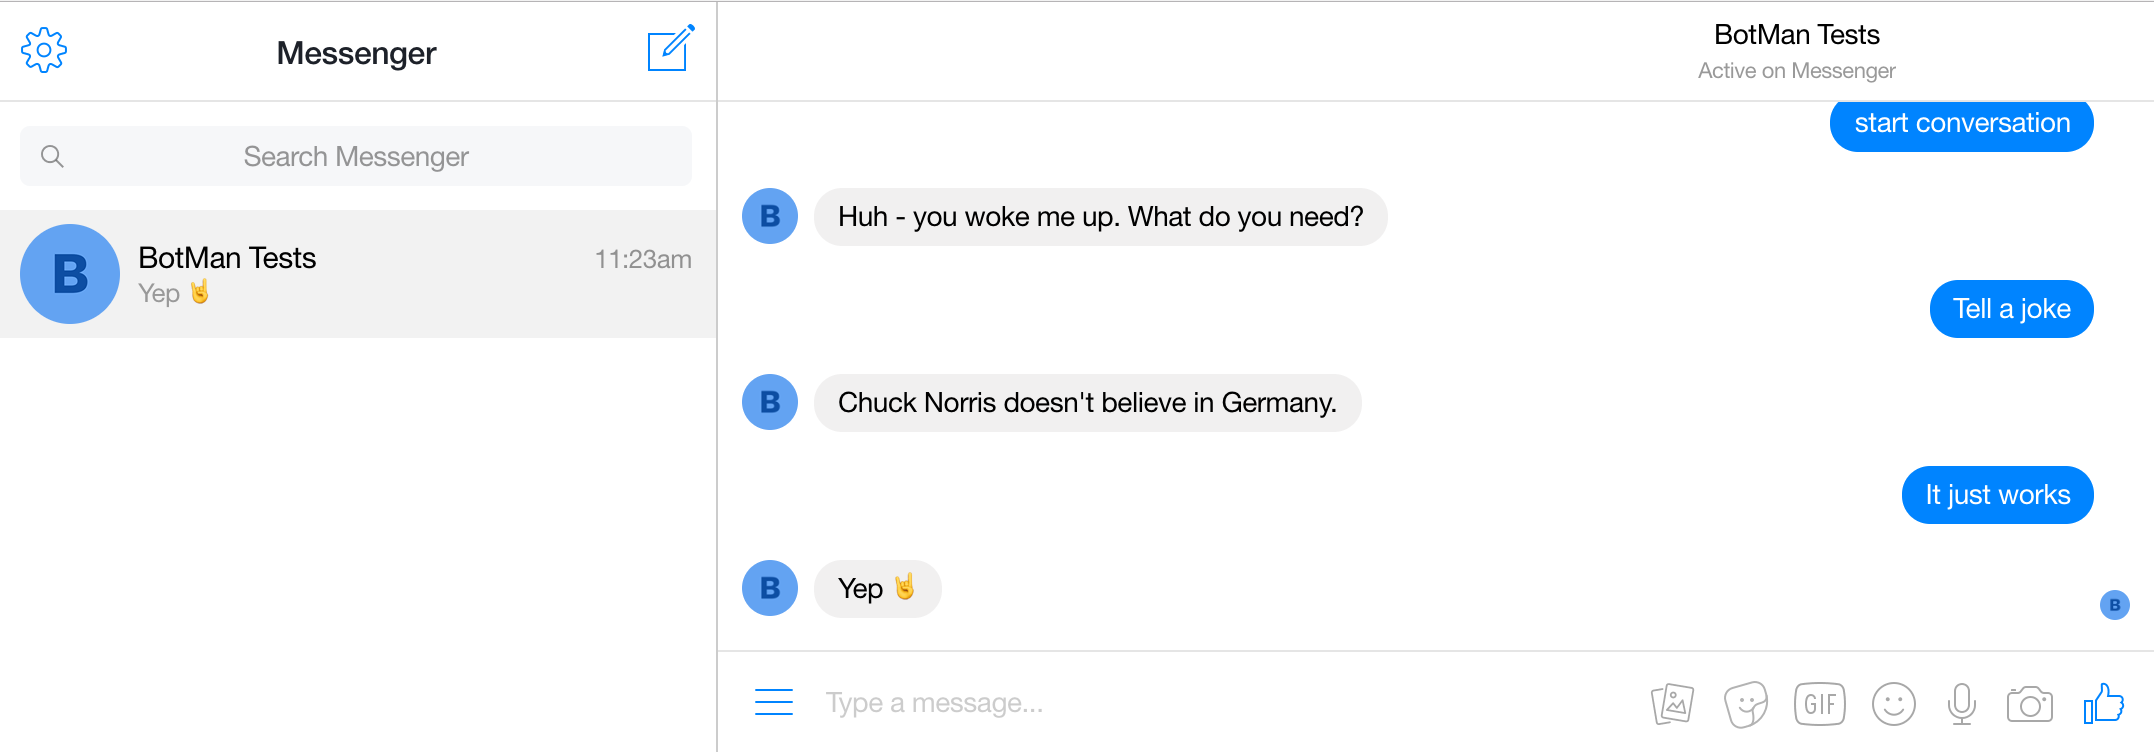
And to write some chatbot functionality ourselves, we add a custom listener to the routes/botman.php file.
$botman->hears('It just works', function(BotMan $botMan) {
   $botMan->reply('Yep 🤘');
});
You will see that this works like a charm as well.
Conclusion
Although it seems quite natural to setup BotMan Studio and Facebook you still need to be aware of a few concepts regarding Facebook. I hope I could provide them there and this article helps you to set up your next Facebook Messenger chatbots. From here you are ready to build more and more features to your bot your own. So make sure to check out the BotMan documentation to get a feeling of what is possible and learn new stuff.