Build a newsletter chatbot in PHP - Part 3
In part one and two we created a Facebook Messenger chatbot that let your users subscribe to your newsletter. We stored that information in the database and sent out our first newsletter. In the last third part, we integrate this bot to a website and write our first tests.
If you haven't read the first articles of this series, check part 1 and part 2 first.
Website integration
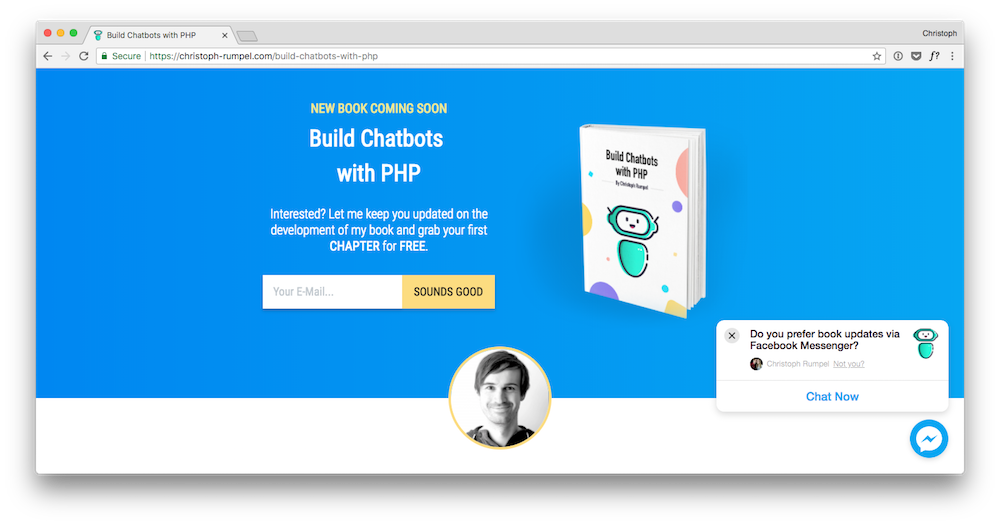
You probably have already seen that my bot is integrated into my book's landing page. This way, people can subscribe to my Messenger newsletter, without the need to visit Facebook. Everything happens on my site. This is possible due to the new Facebook Customer Chat Plugin.
To integrate this plugin, you need to follow these three steps:
1. Include the Facebook JavaScript SDK
The plugin depends on this script, so you will need to include it into your site. Check the Facebook JavaScript SDK Quickstart for further instructions on that.
2. Whitelist your website's domain
For security reasons, we need to tell Facebook about our domain. It must be served over HTTPS, and IP addresses or localhost are not allowed. There are two ways to whitelist a domain for Facebook. First, you can add it from within your Facebook Page settings. Got to the Messenger Platform menu and then look for the "Whitelisted Domains" section.
Second, and my preferred way to accomplish the same thing, is with BotMan. Inside your config/BotMan/Facebook.php file you can list domains which should be whitelisted. Just add your domain there and use as BotMan command to approve it.
3. Include the plugin
Finally, include the plugin's markup to your website's HTML. I have put it into my footer, but it doesn't matter. It will always be shown at the bottom right corner.
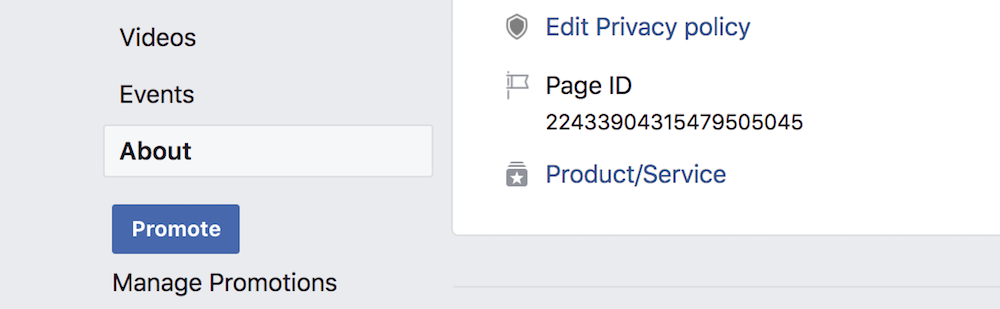
As you can see, we can define some options here. First, provide your Facebook Page ID. You will find it inside the About section of your page.
We don't need the ref value for now. It will be sent to your BotMan application besides the GET_STARTED value. As a result, we can detect if the conversation was started from the plugin or not. We could use that to handle the conversation differently, but it doesn't make sense for us. So leave it empty.
Through the theme_color you can decide the main highlight color of the chat. I am using the one from my landing page.
And last we can add two greetings here. One is for users who are already logged into Facebook in the current browser. And the other one is for those who are not. I am using the same text here, but this up to you again.
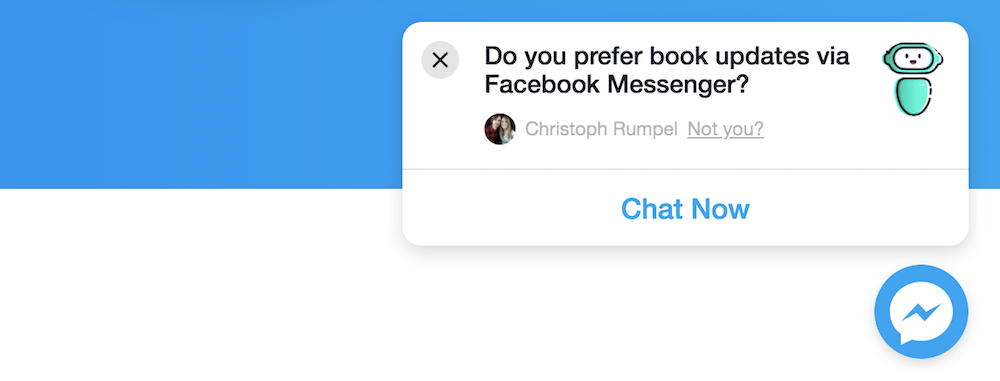
The plugin should now be visible on your page. Play around with the settings to see the different customization possibilities.
BotMan Tests
As good PHP developers, we always think about good ways to test our application. The same goes for chatbots. But we haven't written any test yet. Especially when building chatbots is still new to you, I think it is better to concentrate on the implementation first. But I don't want to leave you without creating any tests. This is why we will add some basic tests now.
Testing chatbots are quite different from other web applications. With chats, we have lots of conversations and text to test. When the user says this, we assert that reply and so on. Let's start with the fallback test.
Fallback Test
Under tests/BotMan you will find a basic BotMan example test. Here you can see how we test a chatbot. First, we define the message the bot receives and then we set what we expect as the reply.
Copy the example test file and name the file and class FallbackTest. Remove the given code and replace it with this:
The bot doesn't know what What is your name? means. We haven't implemented it yet, so the fallback message is triggered. Since we return multiple messages to the fallback method, we can also check for multiple ones in our test. This is why we can use multiple assertReply methods. This is great for basic text messages. But for template messages, we need to check the template with assertTemplate. Now run the test with:
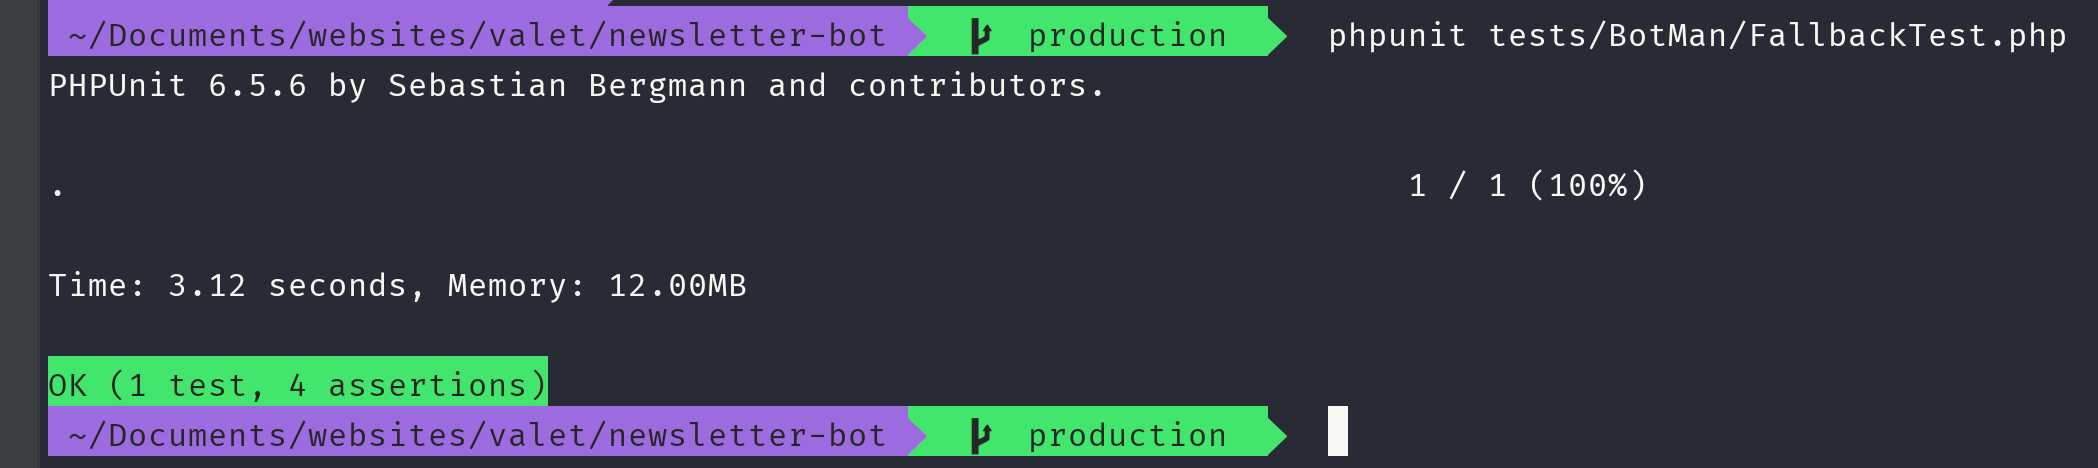
Everything should be green.
Subscription Conversation Test
Now we move on the subscription process. Create another test file and name it SubscribeConversationTest.php. We will create three tests here. First one is for the welcome message.
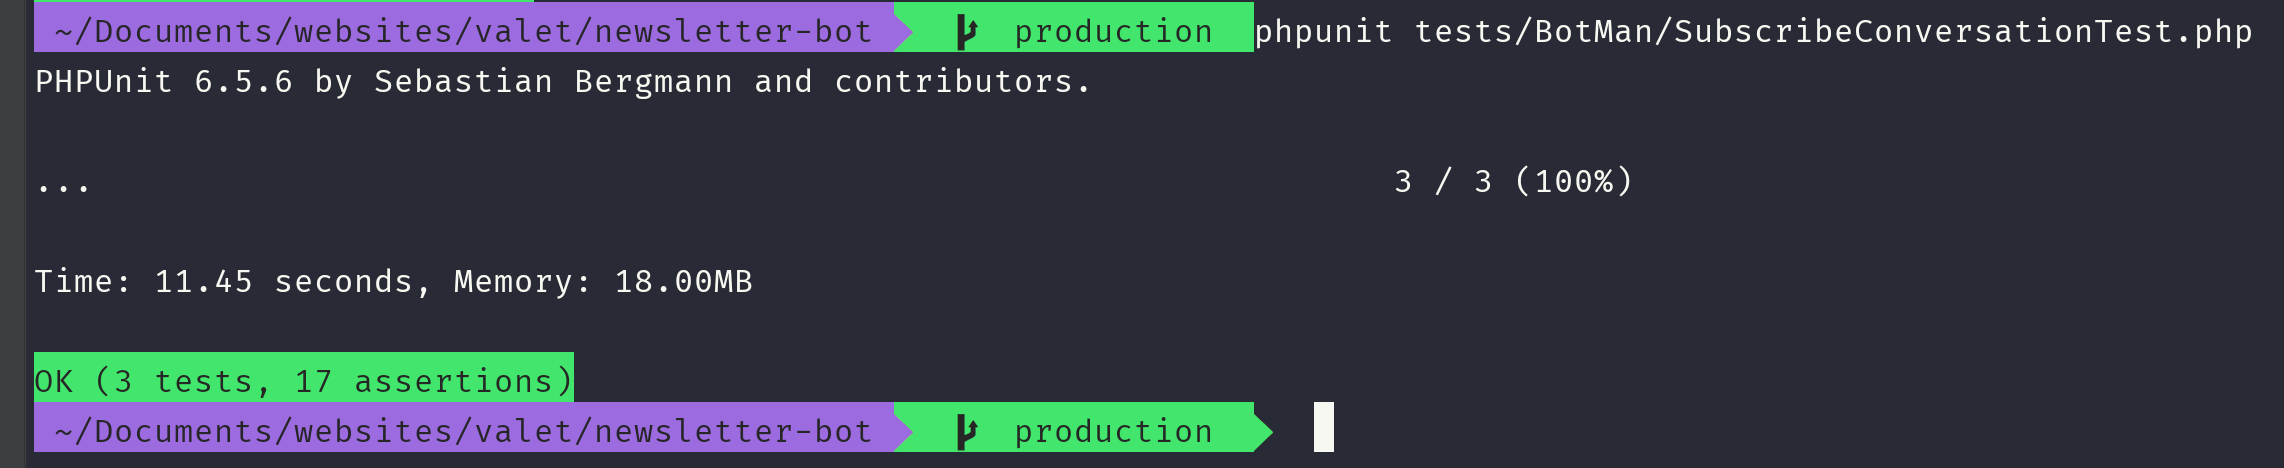
The bot receives the get_started button payload GET_STARTED and we assert two replies. Essentially, the bot sends more than these two replies. But for this test, it's just fine. I want to keep this test as simple as possible. Run it with:
Besides, we can trigger the other messages with the subscribe keyword as well. First, we take care of the subscribe process with an affirmative answer.
Here we listen to the subscribe message, then assert some messages as well as a question. Additionally, we chain another incoming user message and assert the rest of the replies. yes is the value of our Yes please button. We can just use it as a trigger for the other messages. To test the negative reply, let's create another test method.
It's the same, just with the users' negative response and our replies to this case. Now, rerun the tests, and everything should be green as well.
Here is the whole test file now.
As you have probably noticed, we had to duplicate the beginning of the subscribe conversation. This is something that bothers me a lot, and I am already figuring out with Marcel how to create a better solution. Still, these few tests are beneficial and useful examples.
Conclusion
We are done! Wow, that was quite a journey. I'm glad I could show you a new and real chatbot use case of mine. We covered everything from planning the bot to implementing and testing it. I hope you enjoyed this tutorial and it helps you with your next messenger newsletter. Visit me on Twitter and check out my book for more chatbot content.