Build a newsletter chatbot in PHP - Part 1
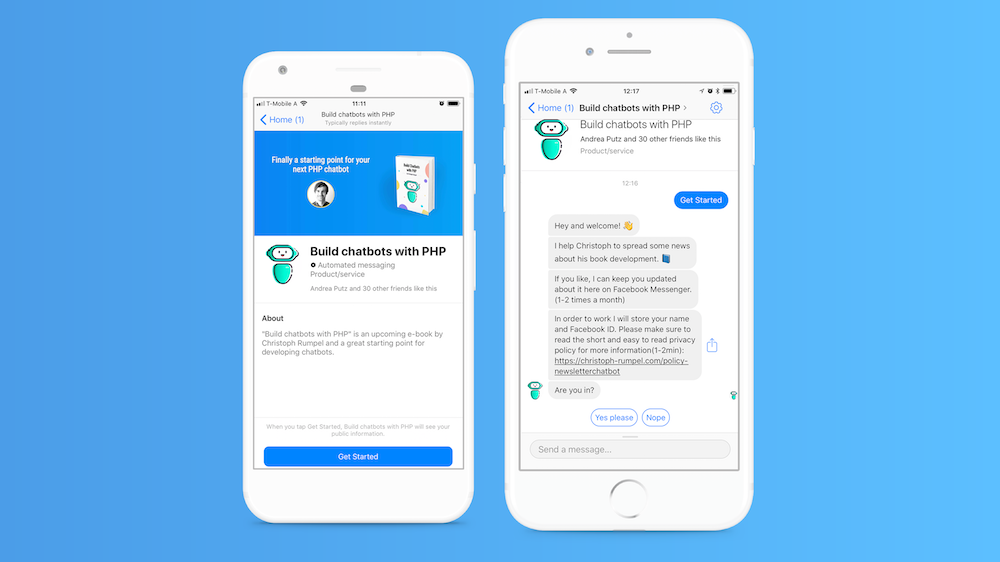
#chatbotsEmail has been a great channel for staying in touch with your audience for years. But times are changing and messengers are taking over communication. Let's see how I used Facebook Messenger to build a little newsletter bot for my book "Build Chatbots with PHP".
What book?
Since the beginning of the year, I am working on a new project of mine. It's a book called Build Chatbots with PHP. Follow the link to find out what it is about and who it is for.
More interesting to us is the newsletter, to which you can subscribe on the book's website. About once or twice a month I will send out an email with news on the development of the book. That's a common approach. I can spread the word about my product and you can get the latest news. In my case, you also get a discount for my book and a free sample chapter.
Messengers to the rescue
In the sample chapter, I explain how messengers trigger a big shift right now. They have become the communication channel number one for so many people and started the rise of the chatbots. It is of great interest to a lot of users to receive information directly inside their favorite messenger. This makes sense because they already spend a lot of their time there.
This is why chatbots play a such a big role right now. They can bring automated services to every chat. We want to use that for our newsletter as well. So instead of sending a traditional email, you can keep your users updated on a messenger. This is what we are going to do now.
The plan
So here is the plan. Next, to the traditional newsletter subscription we want to provide another option, that works with Facebook Messenger. We are going to build a little Facebook Messenger bot that sends out news about my book. Facebook has a nice Customer Chat Plugin that we can integrate into a website like my landing page. This way, the users don't have to leave the landing page in order to subscribe to this new messenger newsletter. Awesome, right?
Here is what we are going to do:
- BotMan setup
- Facebook setup
- Test it
- The signup process
- Storing subscriptions
- Extras
- Sending newsletters
- Website integration
- BotMan Tests
BotMan setup
The easiest way to install BotMan Studio is via the installer. (Skip this, if you got it already installed)
composer global require "botman/installer"
After that, you can install a new instance and change directory.
botman new newsletter-bot && cd newsletter-bot
Inside the new directory, we then need to install the Facebook driver. Luckily there is a nice command for that as well.
php artisan botman:install-driver facebook
In order to connect our BotMan application to a Facebook app, we need to define some environment values. Copy these to you .env file. Later we will change the values to the correct ones.
FACEBOOK_TOKEN=YOUR_APP_FACEBOOK_PAGE_TOKEN
FACEBOOK_APP_SECRET=YOUR_APP_SECRET
FACEBOOK_VERIFICATION=YOUR_VERIFICATION
Ok, so last step here is to make our application publicly available. I use Laravel valet for that. It provides a little command to create a temporary public URL to the local application. But you can also use tools like ngrok or an already deployed application URL.
valet share
Facebook setup
I won't cover how to create a Facebook Page or Facebook App here. Check Build a Facebook Messenger chatbot in Laravel with BotMan Studio 2.0 or Build a PHP chatbot in 10 minutes to get more information about that.
Now go to your Facebook App and grab the tokens. You can find the App Secret on the main dashboard. With FACEBOOK_TOKEN BotMan refers to the Facebook Page Access Token. You will find that on the Messenger settings page. You need to select the Facebook Page in order to get this token. The FACEBOOK_VERIFICATION you define yourself. First in your .env and then again when you set up the webhook.
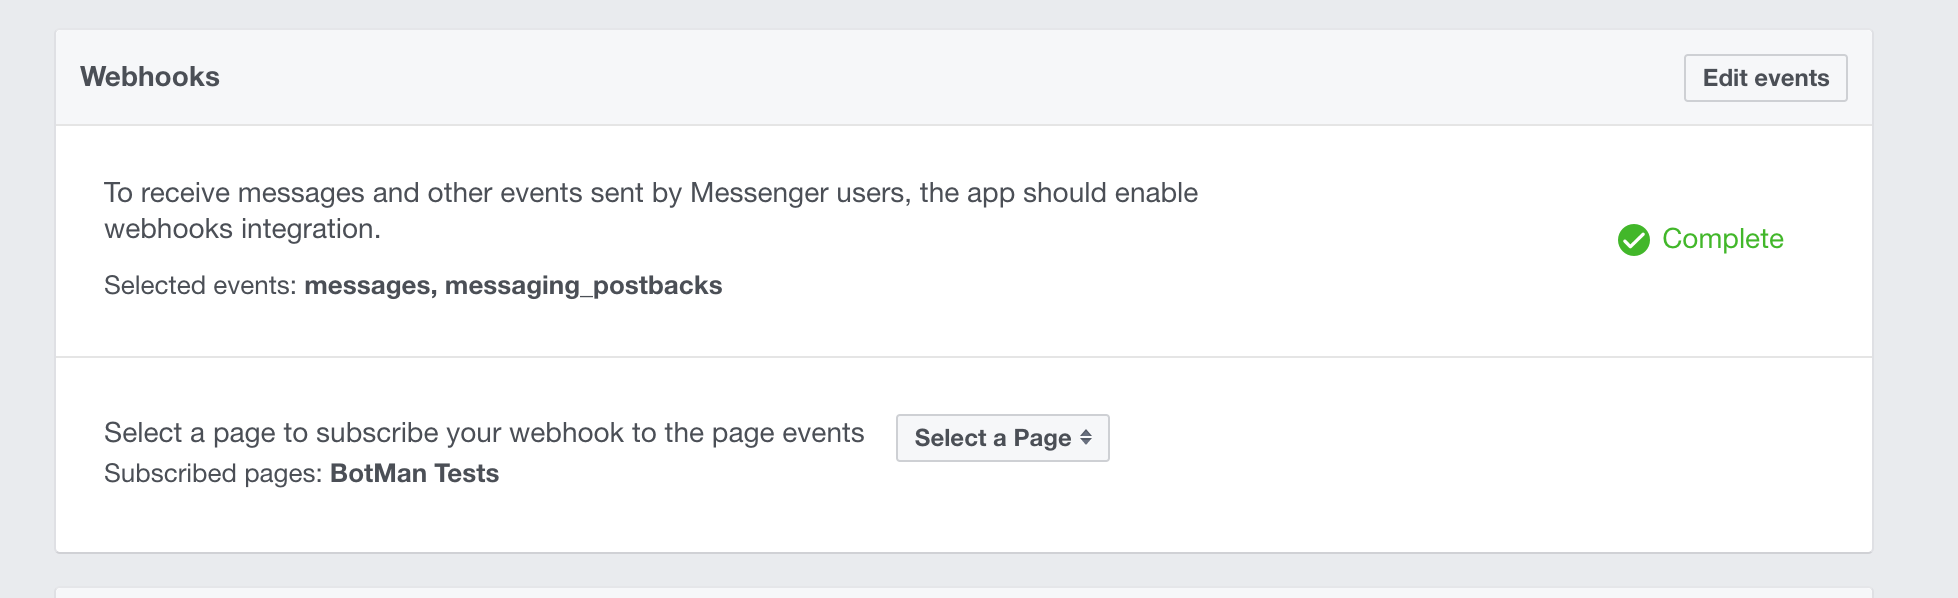
Now we are ready to connect the BotMan instance with the Facebook app. Go to the "Webhooks" section inside your Messenger settings. There you can add the webhook. It is the URL where our BotMan application gets the messages from Facebook. Make sure to check the permissions for messages and messaging_postback in order to make it work. There you also set the verification token again. Make sure it is the same as in your .env file. After that, you also have to subscribe to a Facebook page.
Test it
To make sure that everything has been setup correctly, let's try it out. Go to your Facebook Page and open the chat. When you send Hi, you should get back a reply from your bot. This is one of the given BotMan examples that works out of the box.
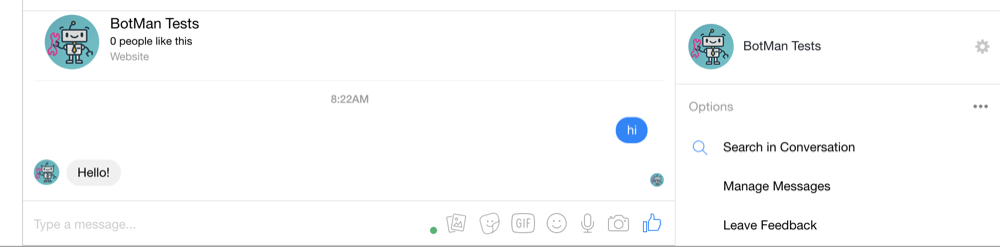
If it doesn't reply, please check your storage/logs/laravel.log file for errors.
The signup process
Let's think about what the bot should be capable of again. When the user enters the chat, we want to send him a welcome message and information about the subscription. It should be possible to subscribe and unsubscribe from our messages. That's enough for this first version.
Welcome message
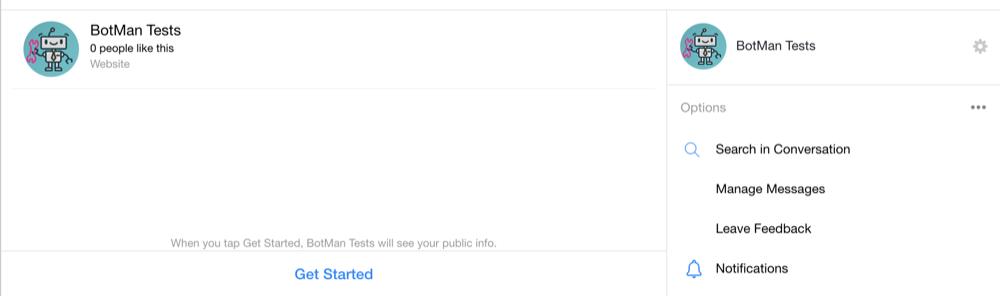
In Facebook Messenger, there is the concept of a get_started button. When you add it, the user will see this button before he can enter the chat the first time. This way our application knows when a user enters the chat and we can react to that. In BotMan Studio we can add the button with a simple command.
php artisan botman:facebookAddStartButton
This will send an HTTP request to Facebook and active our button. You cannot change the text of the button, but the payload, which is sent to our application. You can define it in your config/botman/facebook.php file.
/*
|--------------------------------------------------------------------------
| Facebook Start Button Payload
|--------------------------------------------------------------------------
|
| The payload which is sent when the Get Started Button is clicked.
|
*/
'start_button_payload' => 'GET_STARTED',
The payload is what we can listen for in our BotMan route file routes\botman.php. You can delete the demo code from that file. It should look now like this:
<?php
use BotMan\BotMan\BotMan;
$botman = resolve('botman');
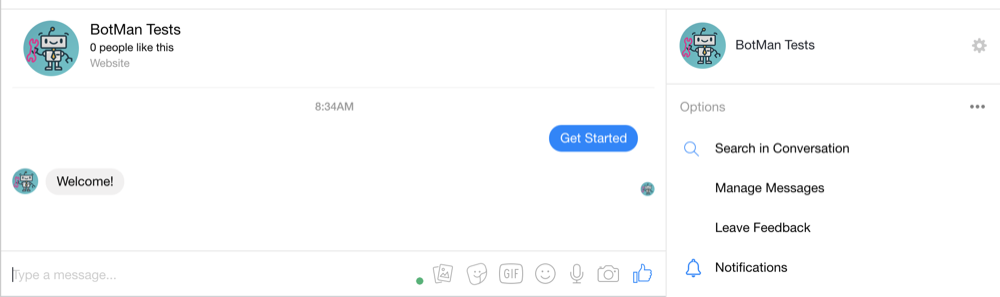
$botman->hears('GET_STARTED', function (BotMan $bot) {
$bot->reply('Welcome!');
});
Since we already talked to the bot, you can't see the get_started button. You need to delete the conversation, then the button will appear again.
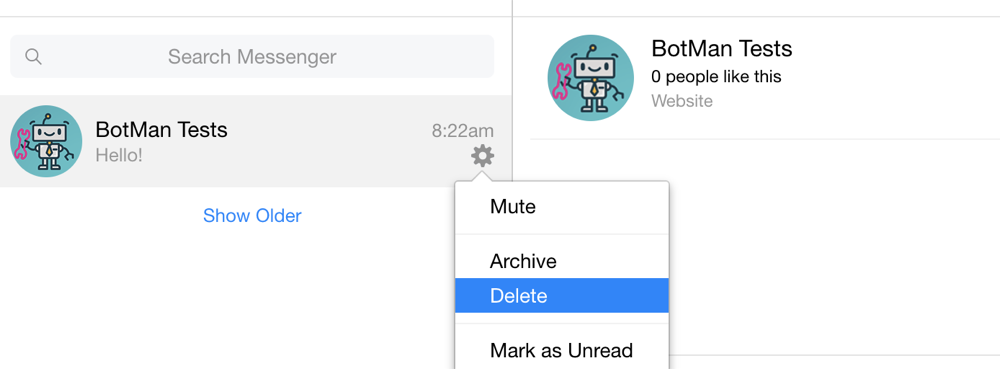
Now we can click it and our bot should welcome you with a little Welcome message.
Make it a conversation
In BotMan a conversation class is a place where you can group questions that belong to each other. Let's create one for our subscription conversation.
php artisan botman:make:conversation SubscribeConversation
You can find this new class here: /app/Http/Conversations/SubscribeConversation.php
I always start my conversations with thinking about the different questions.
<?php

namespace App\Http\Conversations;

use BotMan\BotMan\Messages\Conversations\Conversation;

class SubscribeConversation extends Conversation
{
    public function run()
    {
        $this->welcome();
    }

    private function welcome()
    {
    }

    private function askAboutSubscription()
    {
    }

}
The run method will be called first when you start a conversation. Here we define where to go next. First, we will welcome the user with a message and then we'll ask about the subscription. You could do that in one method too, but I like it better that way. There is also another reason. I already know that I want to use this conversation, even if the user is not visiting the bot the first time. So the welcome message only makes sense the first time.
In the welcome method, we then trigger the subscription question. There we ask the user if he or she is ok with getting news about my book from time to time.
<?php

namespace App\Http\Conversations;

use BotMan\BotMan\Messages\Incoming\Answer;
use BotMan\BotMan\Messages\Outgoing\Question;
use BotMan\BotMan\Messages\Outgoing\Actions\Button;
use BotMan\BotMan\Messages\Conversations\Conversation;

class SubscribeConversation extends Conversation
{
    public function run()
    {
        $this->welcome();
    }

    private function welcome()
    {
        $this->bot->reply('Hey and welcome! 👋');
        $this->askAboutSubscription();
    }

    private function askAboutSubscription()
    {
        $this->bot->reply('I help Christoph to spread some news about his book development. 📘');
        $this->bot->reply("If you like, I can keep you updated about it here on Facebook Messenger. (1-2 times a month)");
        $this->bot->reply("In order to work I will store your name and Facebook ID. Please make sure to read the short and easy to read privacy policy for more information(1-2min): \nhttps://christoph-rumpel.com/policy-newsletterchatbot");

        $question = Question::create('Are you in?')
            ->addButtons([
                Button::create('Yes please')
                    ->value('yes'),
                Button::create('Nope')
                    ->value('no'),
            ]);

        $this->ask($question, function (Answer $answer) {
            if ($answer->getValue() === 'yes') {
                $this->bot->reply('Wuhu, great to have you on board! 🎉');
                $this->bot->reply('I will message you when there is something new to tell ✌️');
            } else {
                $this->bot->reply('Ok no problem. If change your mind, just type "subscribe".');
            }

            $this->bot->reply("Christoph also likes to blog a lot. Make sure to checkout his site for more chatbot stuff: \n ✨ https://christoph-rumpel.com/ ✨ ");
            $this->bot->reply('See you! 👋');
        });
    }

}
It is quite some code, but nothing special here. Take some minutes to read it over and to understand what is happening. Instead of replying to a message, we now start this conversation with our listener.
<?php

use BotMan\BotMan\BotMan;
use App\Http\Conversations\SubscribeConversation;

$botman = resolve('botman');

$botman->hears('GET_STARTED', function (BotMan $bot) {
    $bot->startConversation(new SubscribeConversation());
});
Try it out yourself in the chat. You can delete the conversation again to make use of the get_started button, or you could simulate it by typing GET_STARTED.
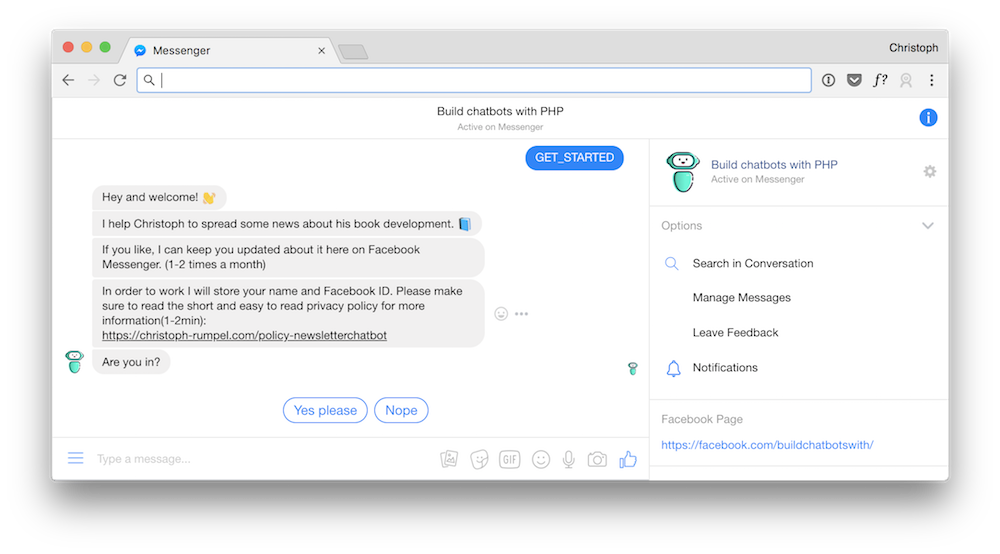
You should see the welcome message, the question about the subscription and two options for responding to the answer. Both ways the user also gets a little bye-message with a note about my blog articles.
Make it reusable
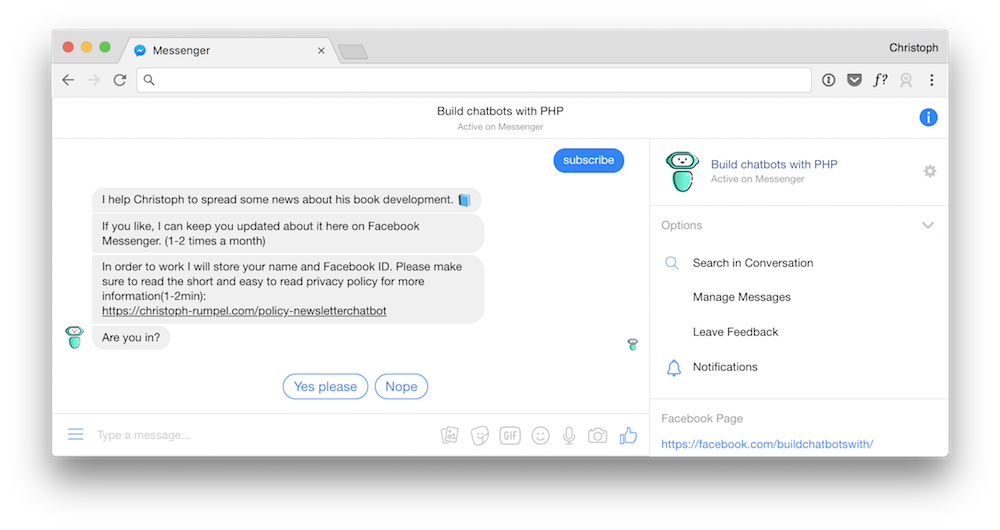
Right now our conversation only works when the user starts the chat with the GET_STARTED button/keyword. As mentioned in the reply messages, we want to give the user the opportunity to edit the subscription with the subscribe keyword. Let's add that to our BotMan route.
$botman->hears('GET_STARTED|subscribe', function (BotMan $bot) {
    $userFromStartButton = $bot->getMessage()->getText() === 'GET_STARTED' ? true : false;
    $bot->startConversation(new SubscribeConversation($userFromStartButton));
});
Next to the "GET_STARTED" text, we also listen for "subscribe" now. Both trigger the same action. But as you can see we are adding a boolean to our class constructor. This way we know inside our conversation class, if the user triggered the button or the text message.
In our conversation class, we now have the chance to only show the welcome message, if it is a new user. To make this possible we need to add a constructor and a class property to check for.
protected $userFromStartButton;

public function __construct(bool $userFromStartButton) {

    $this->userFromStartButton = $userFromStartButton;
}

public function run()
{
    $this->userFromStartButton ? $this->welcome() : $this->askAboutSubscription();
}
Now we can trigger the subscribe conversation with the text "subscribe" as well. This way the user is able to unsubscribe if needed.
Next up
Let's call it a day. This first part already covered a lot of stuff. We created a little Facebook Messenger chatbot in BotMan and implemented a conversation. In the next one, we will store the subscriptions, add some extras to our conversation and send out our first newsletter. This will be awesome. So stay tuned!